Add a disclaimer and a logo
Add a disclaimer and a logo to your plans
To help customise the plans to your standards, you can add a disclaimer and also add a logo as a watermark to the plans.
Add a disclaimer to your plans
A disclaimer can be added after a plan has been drawn on your account in the whilst going through the process to save your images.
First, select a plan from your list select a plan on your account - note that the watermark needs to have been removed:
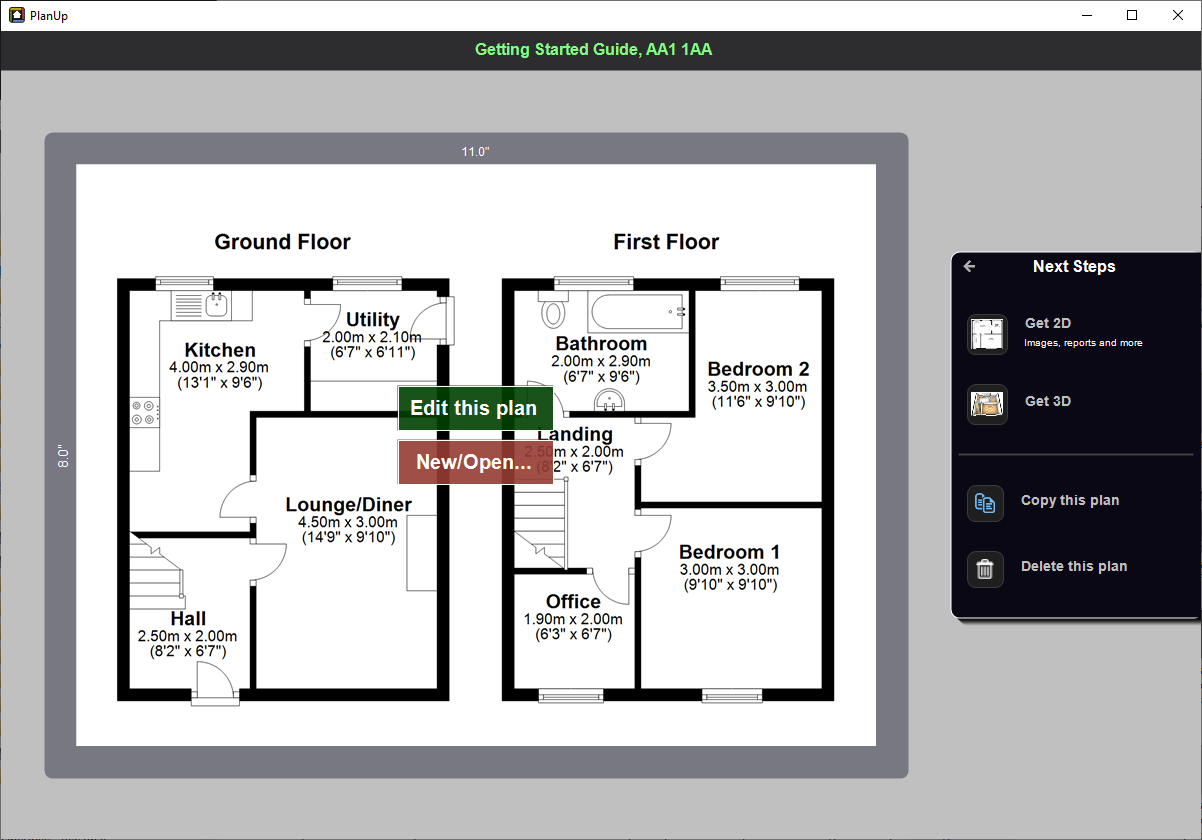
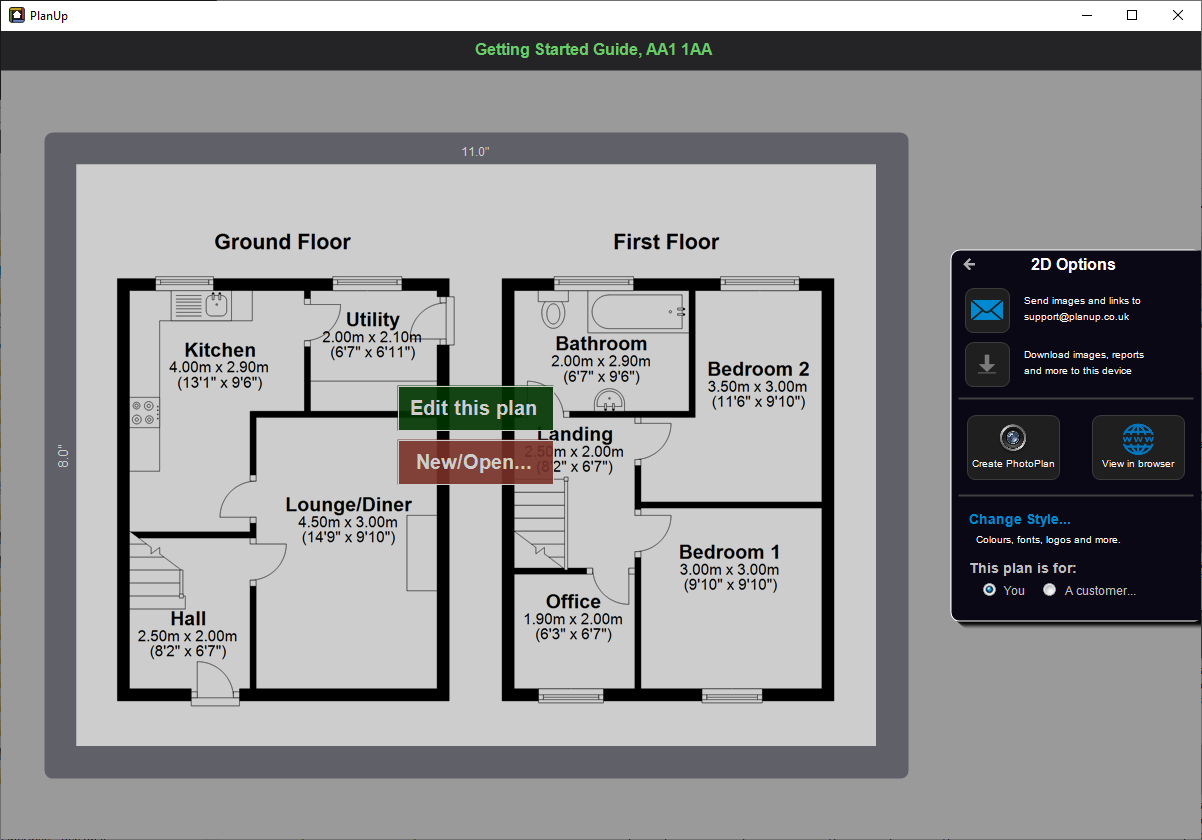
Once you have selected a plan on your account, tap on Get 2D. You will now see a screen similar to that shown below:
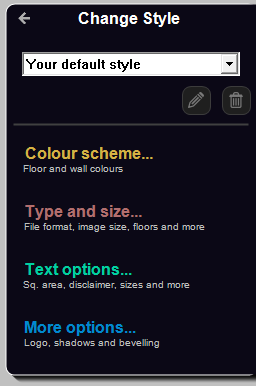
Now tap on Change Style... and then Text options..., the menu panel on the right will change like this:
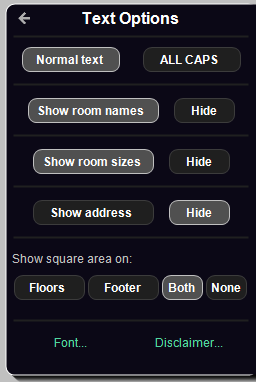
At the bottom right of the menu panel it will say Disclaimer..., tap on this:
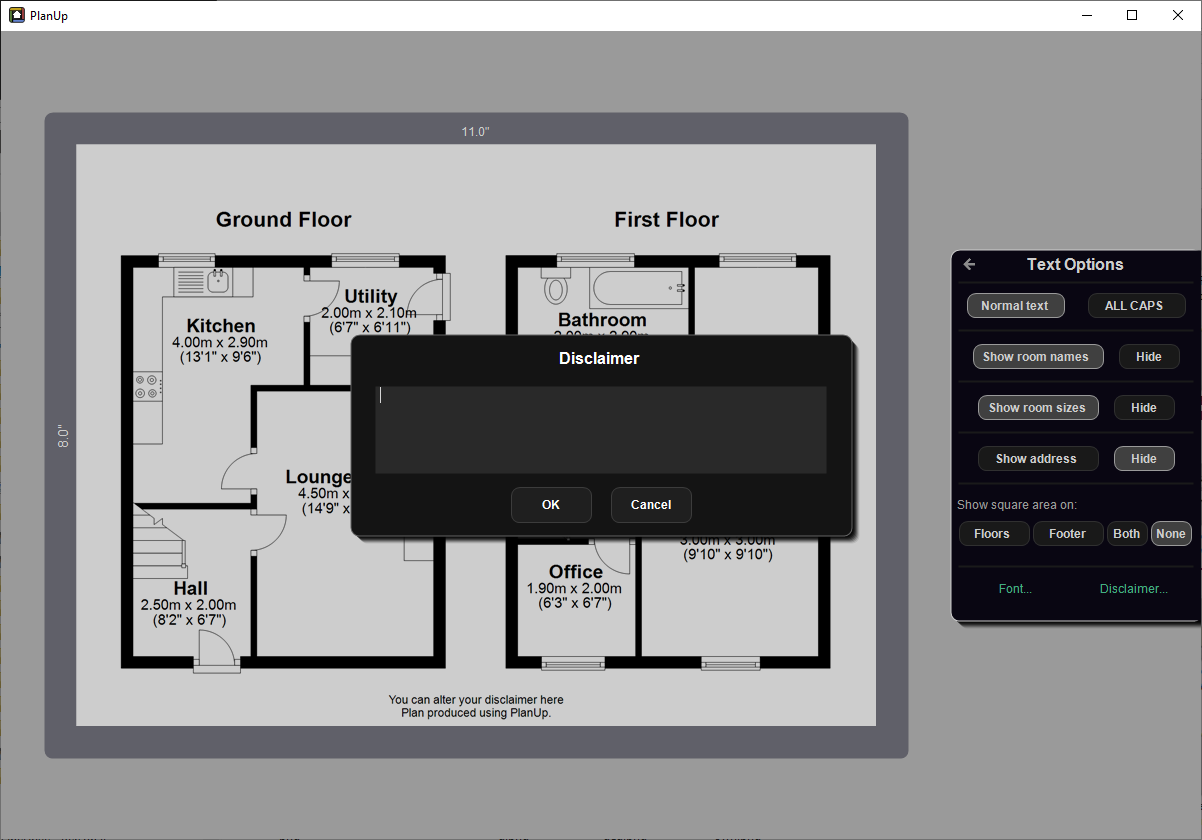
Enter your disclaimer and when ready tap OK to return to the previous screen to continue customising and requesting your images.
The disclaimer will now show on all of your plans.
Add a logo to your plans
You can add a logo in PlanUp to appear on your plans as a watermark. A logo can be added after a plan has been drawn on your account.
Please note that logos can only be uploaded on Windows or Mac - iOS does not support this feature.
To access the logo upload and setting, select a plan on your account - note that the watermark needs to have been removed:
To access the disclaimer settings, select a plan on your account and then tap on Get 2D.
You will now see a screen similar to that shown below:
Now tap on Change Style... and then More options..., the menu panel on the right will change like this:
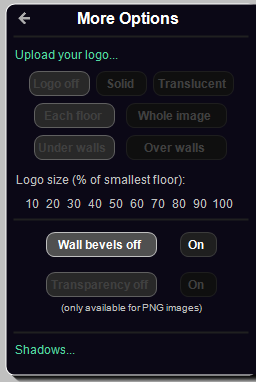
Now tap on Upload your logo... and follow the prompts to find your logo and upload it to your account.
Adjusting the logo settings
Once you have uploaded a logo, you will quite likely want to change the display settings. This is done in the same place as uploading your logo.
Once you have uploaded your logo, you will notice that the menu panel has changed so that the logo settings below the Upload your logo... are now available.
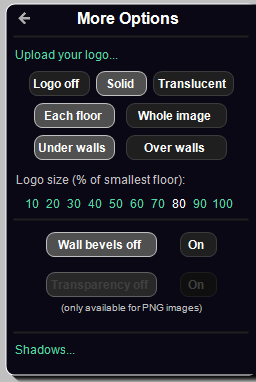
Simply select the options as required - the preview on the left will update to reflect the selections made.