square area grouping
Split square area into room groups
It is possible to add rooms to groups to show the areas of different parts of the plan. This may be useful if you want to e.g. show a separate area for the garage on a plan rather than include it in the main house area.
The video below demonstrates how to do this, written instructions follow.
To do add a room to a different square group:
- Whilst editing the plan, select the room you want to add to a different group and tap again to bring up the pop-up menu
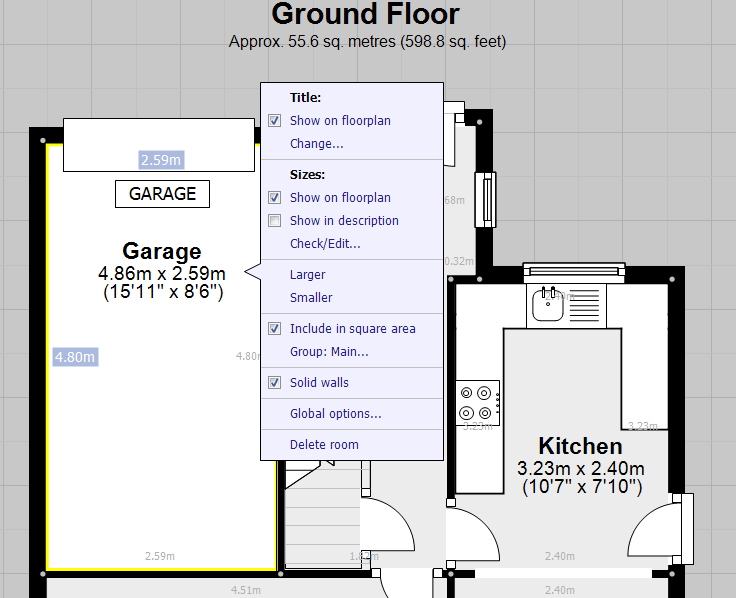
- Tap where is says Group: Main... towards the bottom of the menu - the menu will change to show a list of options:
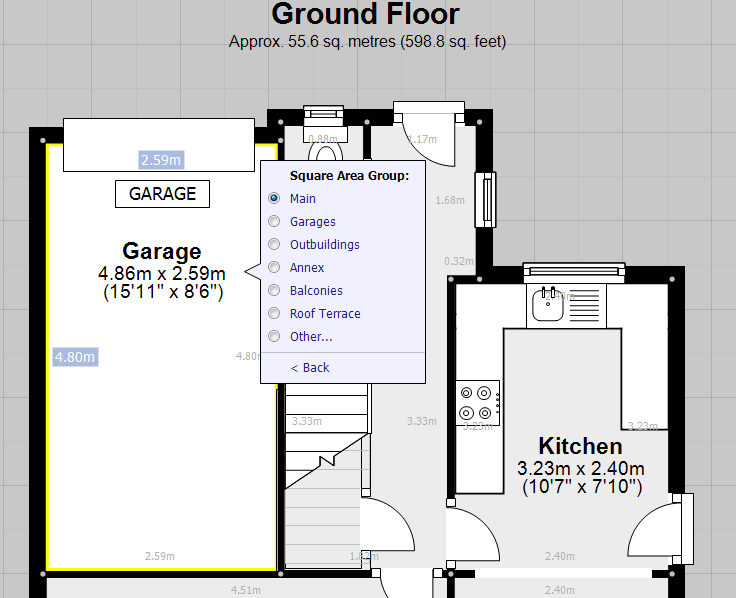
- Simply select the group required (or tap on Other... and name your own group).
- You will now notice that the square area of the room will be removed from the square area total (which will now show as Main area) with the area of the room shown below:

- This is also how the floor area will show on the final image.
- In addition the grand total area with have a similar split similar to the example below:

You can add any room to the groups, and you can use as many groups as required.
Please note that there will always be a Main area, even if no room is assigned to the Main group.