add items to rooms
Add items to rooms
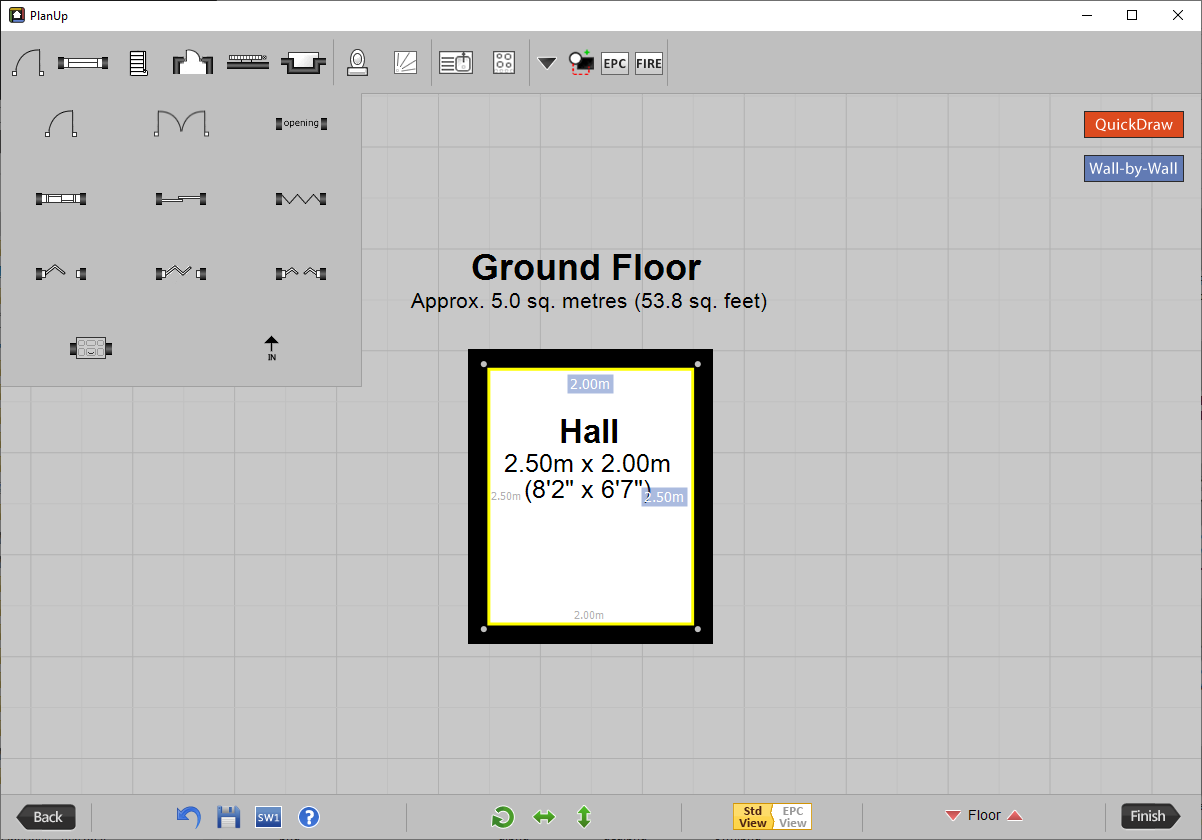
All icons for doors, windows, etc can be found on the top toolbar
The toolbar shown here is the Estate Agent version, though the DEA version is the same, just with EPC items. A complete list of items on both versions of the toolbar and their keyboard shortcuts (for Windows PCs only) can be found in the toolbar reference.
If you are using on a tablet or phone tap on the item type you want to add. Or, if using a Windows PC or Mac, hover over the item type you want to add. The screen will now show the sub menu with different options to add plus a message about adding items – it will look similar to the below:
As shown in the symbol help dialogue at the bottom, there are three ways to add a symbol:
- Drag from the toolbar and drop into place, or
- Tap to select and then single tap to add. Some symbols will add at their normal size, others will automatically fit the wall.
- Tap to select and then tap and drag. Drag along the wall to the size you want.
Once you have selected the specific item you want to add a yellow banner will give you the specific instructions for that item.
NB: Tapping on the More button ( ) gives options to add a number of additional items. Please see the toolbar reference for more information.
You will see that once an item has been added to a wall it has small red square boxes, or ‘handles’, attached to it. These allow you to change the size of the item you have placed on the plan by tapping on them and dragging.
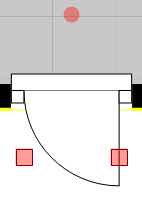
In Addition to the square handles, some items will have a circular handle which can be used to rotate the items.